Beyond the annoyance factor, addressing noisy pipes is crucial for preventing potential damage to your plumbing system and ensuring a peaceful home environment.
Are the mysterious clangs and bangs echoing through your home’s plumbing system disrupting your peace? Noisy pipes can signal underlying issues that need attention. In this guide, we offer comprehensive tips and insights on identifying, addressing, and preventing the common causes behind noisy pipes.
Causes of Noisy Pipes
Ever wondered why your plumbing occasionally transforms into a cacophony of strange sounds? From water hammers to loose pipes, the causes of noisy plumbing are as diverse as they are disruptive.
A. Water Hammer Effect
Water hammer occurs when the flow of water is abruptly halted or redirected, causing a shockwave within the pipes. This shockwave can lead to repetitive banging sounds, stressing the plumbing system structurally and potentially causing damage.
B. Loose Pipes
Loose pipes can result from various factors such as poor initial installation, temperature fluctuations, or the natural settling of a building. The movement of water through loose pipes can lead to them striking against surrounding surfaces, creating disruptive noises.
C. High Water Pressure
Elevated water pressure exacerbates water hammer and can contribute to other forms of pipe vibration, intensifying the noise. Consistently high water pressure can lead to premature wear on plumbing components, reducing their lifespan.
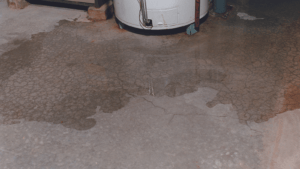
Consequences of Ignoring Noisy Pipes
Ignoring the banging sounds may result in structural damage to your pipes, including cracks and leaks. Noisy pipes contribute to premature wear on various plumbing components, diminishing their effectiveness and lifespan. Disruptions in water flow and pressure caused by noisy pipes can negatively impact water quality and the overall efficiency of your plumbing system.
Pipe Repair Techniques for Noisy Plumbing
A. Water Hammer Arrestors
Water hammer arrestors serve a critical role in absorbing the shock caused by abrupt water flow changes. Imagine the arrestor as a shock absorber for your plumbing system. During installation, they’re strategically placed near appliances like washing machines to cushion the water’s sudden stop, preventing noise and potential damage.
B. Securing Loose Pipes
Loose pipes can create rattling and thudding noises. Clamps and braces act as physical stabilizers. A popular example is the cushioned clamp, securing pipes with a soft grip. Pipe braces, resembling metal brackets, offer additional support. These mechanical solutions effectively minimize pipe movement and noise.
C. Adjusting Water Pressure
Water pressure plays a pivotal role in preventing water hammer. When water suddenly stops or changes direction, it can create pressure surges leading to noise. Regulating pressure ensures a smoother flow, reducing stress on the plumbing system. Pressure-reducing valves automatically regulate pressure, while professional adjustments help maintain an optimal range. These methods contribute to a consistently quieter plumbing system.
DIY Approaches to Noisy Pipe Repair
Identifying and Securing Loose Pipes
Identifying and securing loose pipes is a crucial step in restoring tranquility to your home. Visual cues, such as noticeable movement or rattling sounds, serve as indicators of potential issues. Here’s a step-by-step guide to address this concern.
- Visual Inspection:
Conduct a thorough visual inspection of exposed pipes, especially in areas with frequent water flow. Look for any signs of movement, vibrations, or visible gaps between the pipes and supporting brackets.
- Listening for Sounds:
Pay attention to rattling or banging noises when water flows through the pipes. These audible signals often pinpoint sections where pipes are not adequately secured.
- DIY Solutions:
- Pipe Clips: Use pipe clips or hangers to secure loose pipes. Attach them at intervals along the pipes, ensuring a snug fit without constricting the pipes.
- Foam Insulation: Wrap foam insulation around pipes to minimize movement and dampen vibrations. This is particularly effective in preventing pipes from knocking against walls or other surfaces.
By addressing these visual and auditory cues, homeowners can confidently secure loose pipes, significantly reducing noise disruptions.
Installing Water Hammer Arrestors
Installing water hammer arrestors is a hands-on DIY task that can mitigate the impact of water hammer in your plumbing system. Follow these instructions to install water hammer arrestors, tailored to different types:
- Gather Necessary Tools:
Collect the tools required for the specific water hammer arrestor type, such as a wrench, Teflon tape, and a pipe cutter.
- Locate Water Hammer Source:
Identify the sections in your plumbing system where water hammer occurs. Common areas include washing machine connections or sudden stops in water flow.
- Piston-Type Arrestor Installation:
- Turn off the main water supply.
- Cut the pipe and install the piston-type arrestor according to the manufacturer’s instructions.
- Secure connections using Teflon tape and ensure a tight fit.
- Air Chamber Arrestor Installation:
- Turn off the main water supply.
- Locate a suitable section of the pipe and install the air chamber arrestor, ensuring proper alignment.
- Secure connections with Teflon tape and tighten fittings.
By following these step-by-step guidelines, homeowners can independently address water hammer issues through proper water hammer arrestor installation.
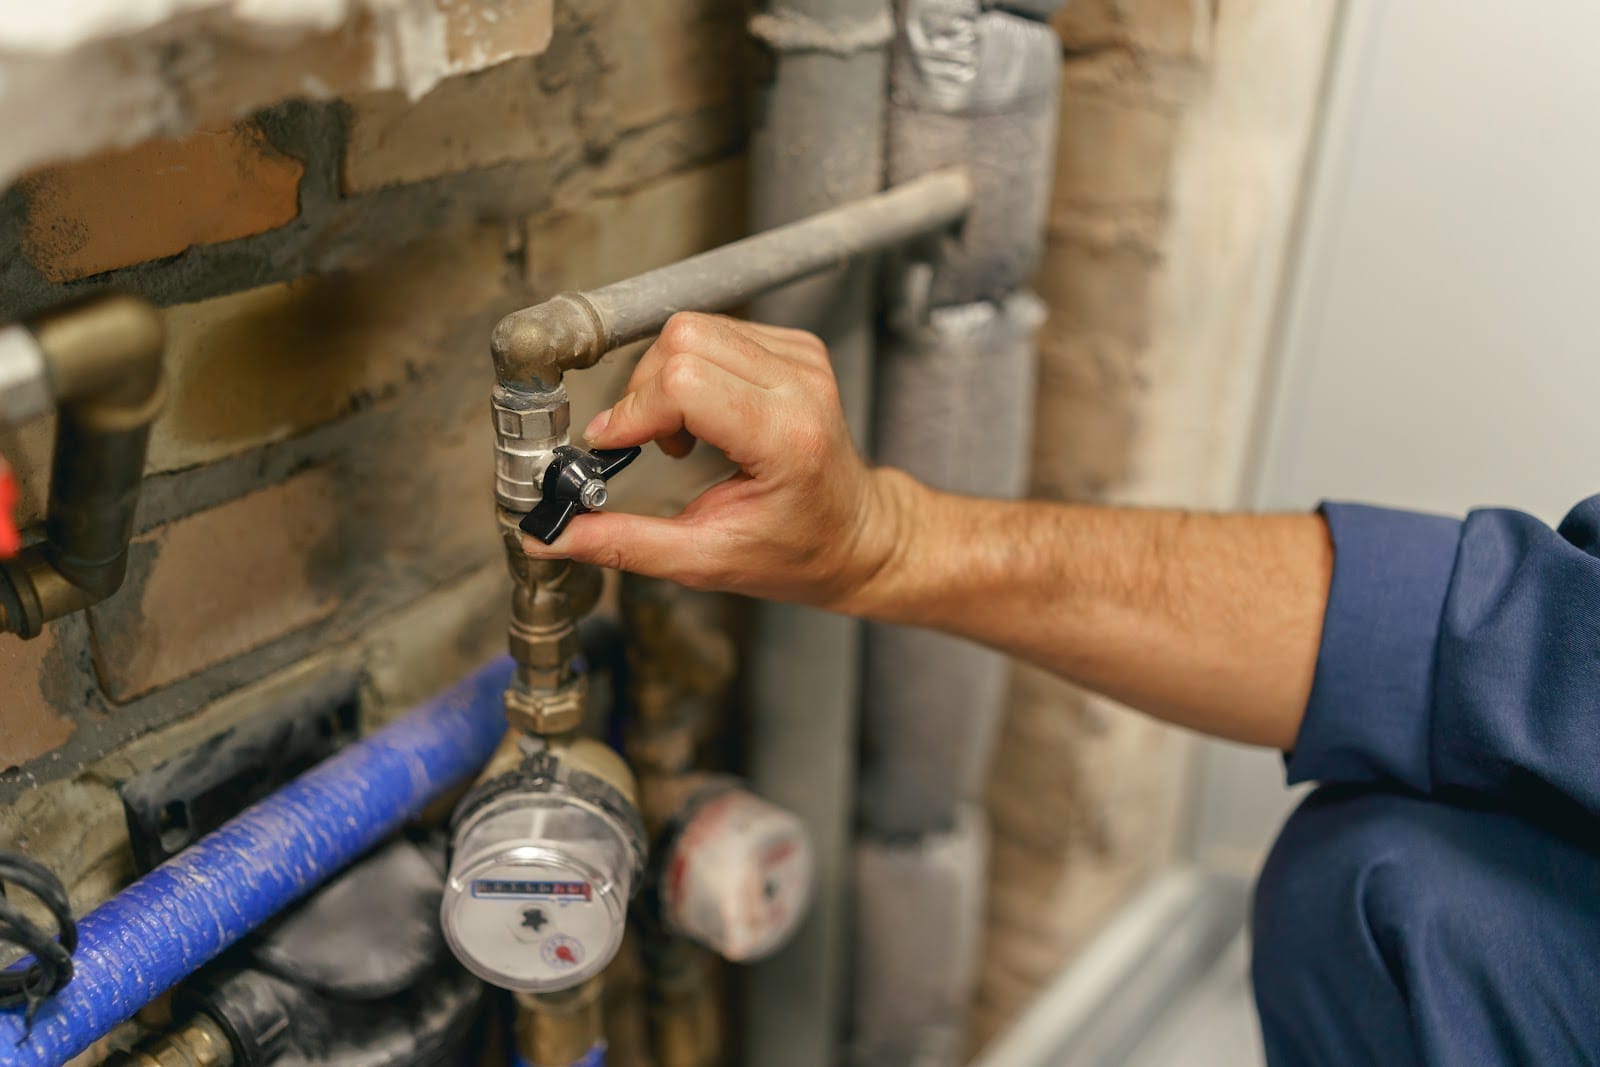
Adjusting Water Pressure Using Pressure-Reducing Valves
Regulating water pressure is a key DIY approach to reducing noise in your plumbing system. Here’s a simple guide to adjusting water pressure using pressure-reducing valves.
- Locate the Main Water Valve:
Identify the main water valve, usually located near the water meter or where the main water line enters your home.
- Turn Off the Water Supply:
- Shut off the main water supply to ensure safety during adjustments.
- Adjust the Pressure-Reducing Valve:
- Using a wrench, turn the adjustment screw on the pressure-reducing valve clockwise to increase pressure or counterclockwise to decrease pressure.
- Make gradual adjustments and test the water flow at various fixtures to find the optimal pressure.
- Monitor and Fine-Tune
Regularly monitor the water pressure and fine-tune the valve as needed to maintain the desired pressure level.
By taking these simple steps, homeowners can contribute to a quieter plumbing system by effectively adjusting water pressure using pressure-reducing valves.
When to Seek Professional Assistance
Recognizing the signs that warrant professional assistance is crucial for maintaining a smoothly functioning plumbing system. Here’s a guide on when to seek professional pipe repair services.
- Persistent Leaks:
If you notice persistent leaks around your pipes, it indicates a potential issue that requires professional attention. Leaks can cause water damage and weaken your property’s structural integrity.
- Unusual Sounds:
Unexplained or unusual sounds coming from your plumbing system, despite DIY attempts to address them, may signal an underlying problem. Professional plumbers have the expertise to identify and resolve complex issues causing disruptive noises.
- Decreased Water Pressure:
A sudden or gradual decrease in water pressure can be a symptom of various plumbing issues. Professionals can diagnose the root cause and implement effective solutions to restore optimal water flow.
- Visible Signs of Damage:
Any visible signs of damage to pipes, such as corrosion, rust, or warping, should prompt you to seek professional assistance.
- Age of Plumbing System:
If your plumbing system is aging or outdated, it’s advisable to have a professional inspection. Older systems may be more prone to issues that require specialized expertise.
Professional plumbers can assess these complex issues, providing timely intervention to prevent further damage and ensure the longevity of your plumbing system.
Preventive Measures
Implementing regular maintenance routines is essential for preventing the recurrence of noisy pipe issues and maintaining a well-functioning plumbing system. Here are key practices:
- Inspecting Visible Pipes:
Regularly inspect visible pipes for signs of wear, corrosion, or damage to prevent these issues from becoming major problems.
- Securing Loose Brackets:
Ensure all pipe brackets and hangers are securely fastened. Loose brackets contribute to pipe movement and noise. Regularly tighten or replace brackets as needed.
- Monitoring Water Pressure
Consistently monitoring and adjusting water pressure is crucial for preventing disruptive noises. Follow these steps:
- Using Pressure Gauges:
- Employ pressure gauges to monitor water pressure at different fixtures. Sudden changes in pressure may indicate underlying issues.
- Adjusting Pressure as Needed:
- Regularly adjust the pressure-reducing valve to maintain an optimal pressure range. Consistent monitoring prevents fluctuations that lead to noisy pipes.
By implementing these preventive measures, homeowners can actively contribute to a quieter plumbing system and address issues before they become major concerns.
Conclusion
Ready to bid farewell to those annoying clangs and rattles? Contact us to restore peace to your home. Whether you’re opting for a DIY fix or considering professional assistance, timely action is the key. Embrace regular maintenance, make informed choices, and reclaim the tranquility your home deserves. Say goodbye to noisy plumbing and hello to a harmonious living space!